Home
Safety and Security Features Every Residential Fence Should Have
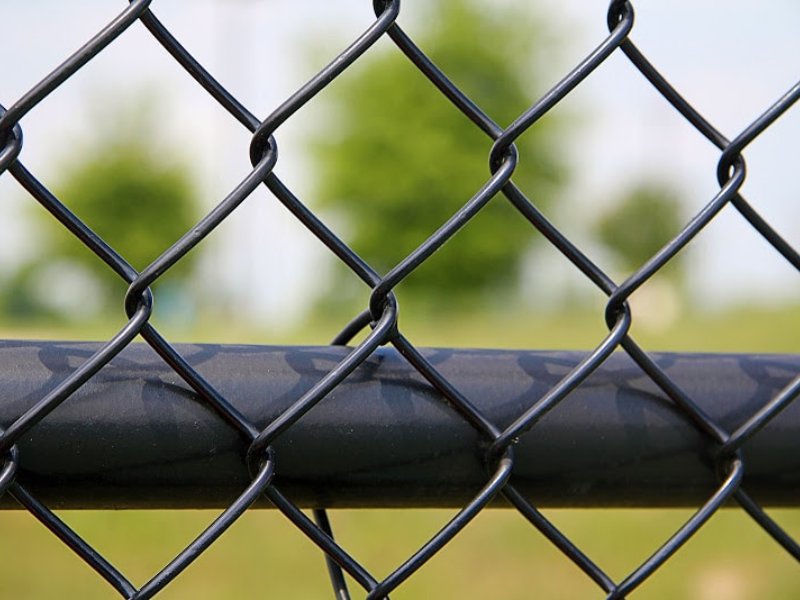
When you think about installing a fence, it’s easy to focus on appearance—color, style, and
When you think about installing a fence, it’s easy to focus on appearance—color, style, and

When you’re thinking about installing a new fence, it’s easy to get caught up in
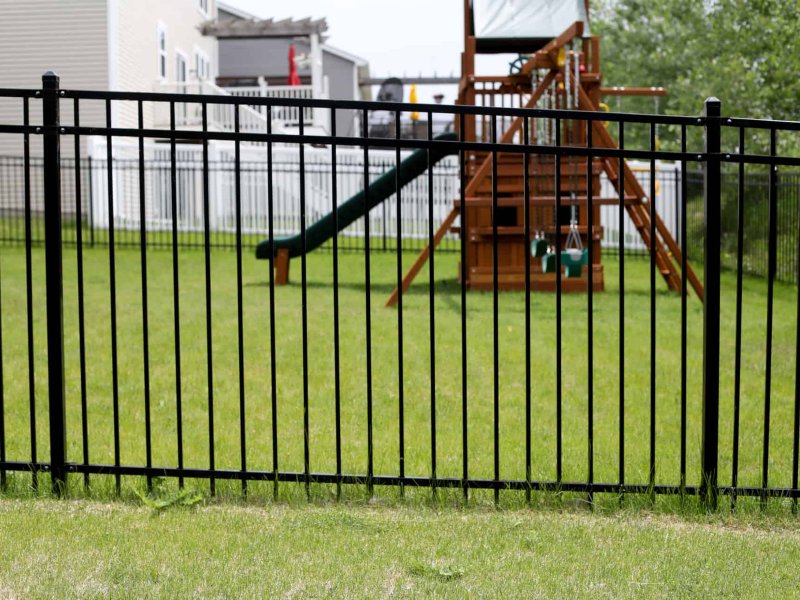
How Northland Fence Helps Minnesota Families Protect What Matters Most Every Minnesota parent and pet